Share this
Extrusion of PCL: We Challenged Our Filament Makers!
by Ellie Pritchard on Jun 21, 2024 4:34:57 PM
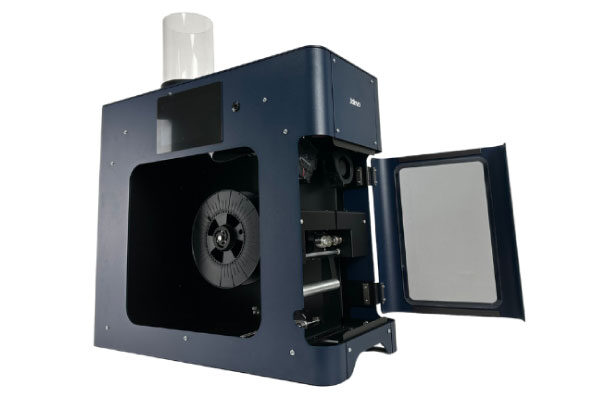
At its core, 3devo is a company driven by curiosity. Founded by engineers, we are committed to producing technology and equipment that drive progress and innovation in the 3D printing industry. Our R&D engineers share the same curiosity and passion as our customers, always eager to explore and enhance the capabilities of our solutions. So, when it came time to showcase the benefits of our new Filament Maker TWO, we turned to our R&D department for answers.
This week, we tested our original Filament Maker ONE and the soon-to-be-released Filament Maker TWO side by side. Under the guidance of our R&D Materials Specialist, Janus Barnard, we performed a direct comparison under identical lab conditions, focusing on the extrusion of PCL (Polycaprolactone) to illustrate how our machines handle low-temperature materials. In this blog, we delve into the technical details of the Filament Maker ONE and TWO, examining their unique features, performance metrics, and the technological advancements that distinguish our latest model from its predecessor.
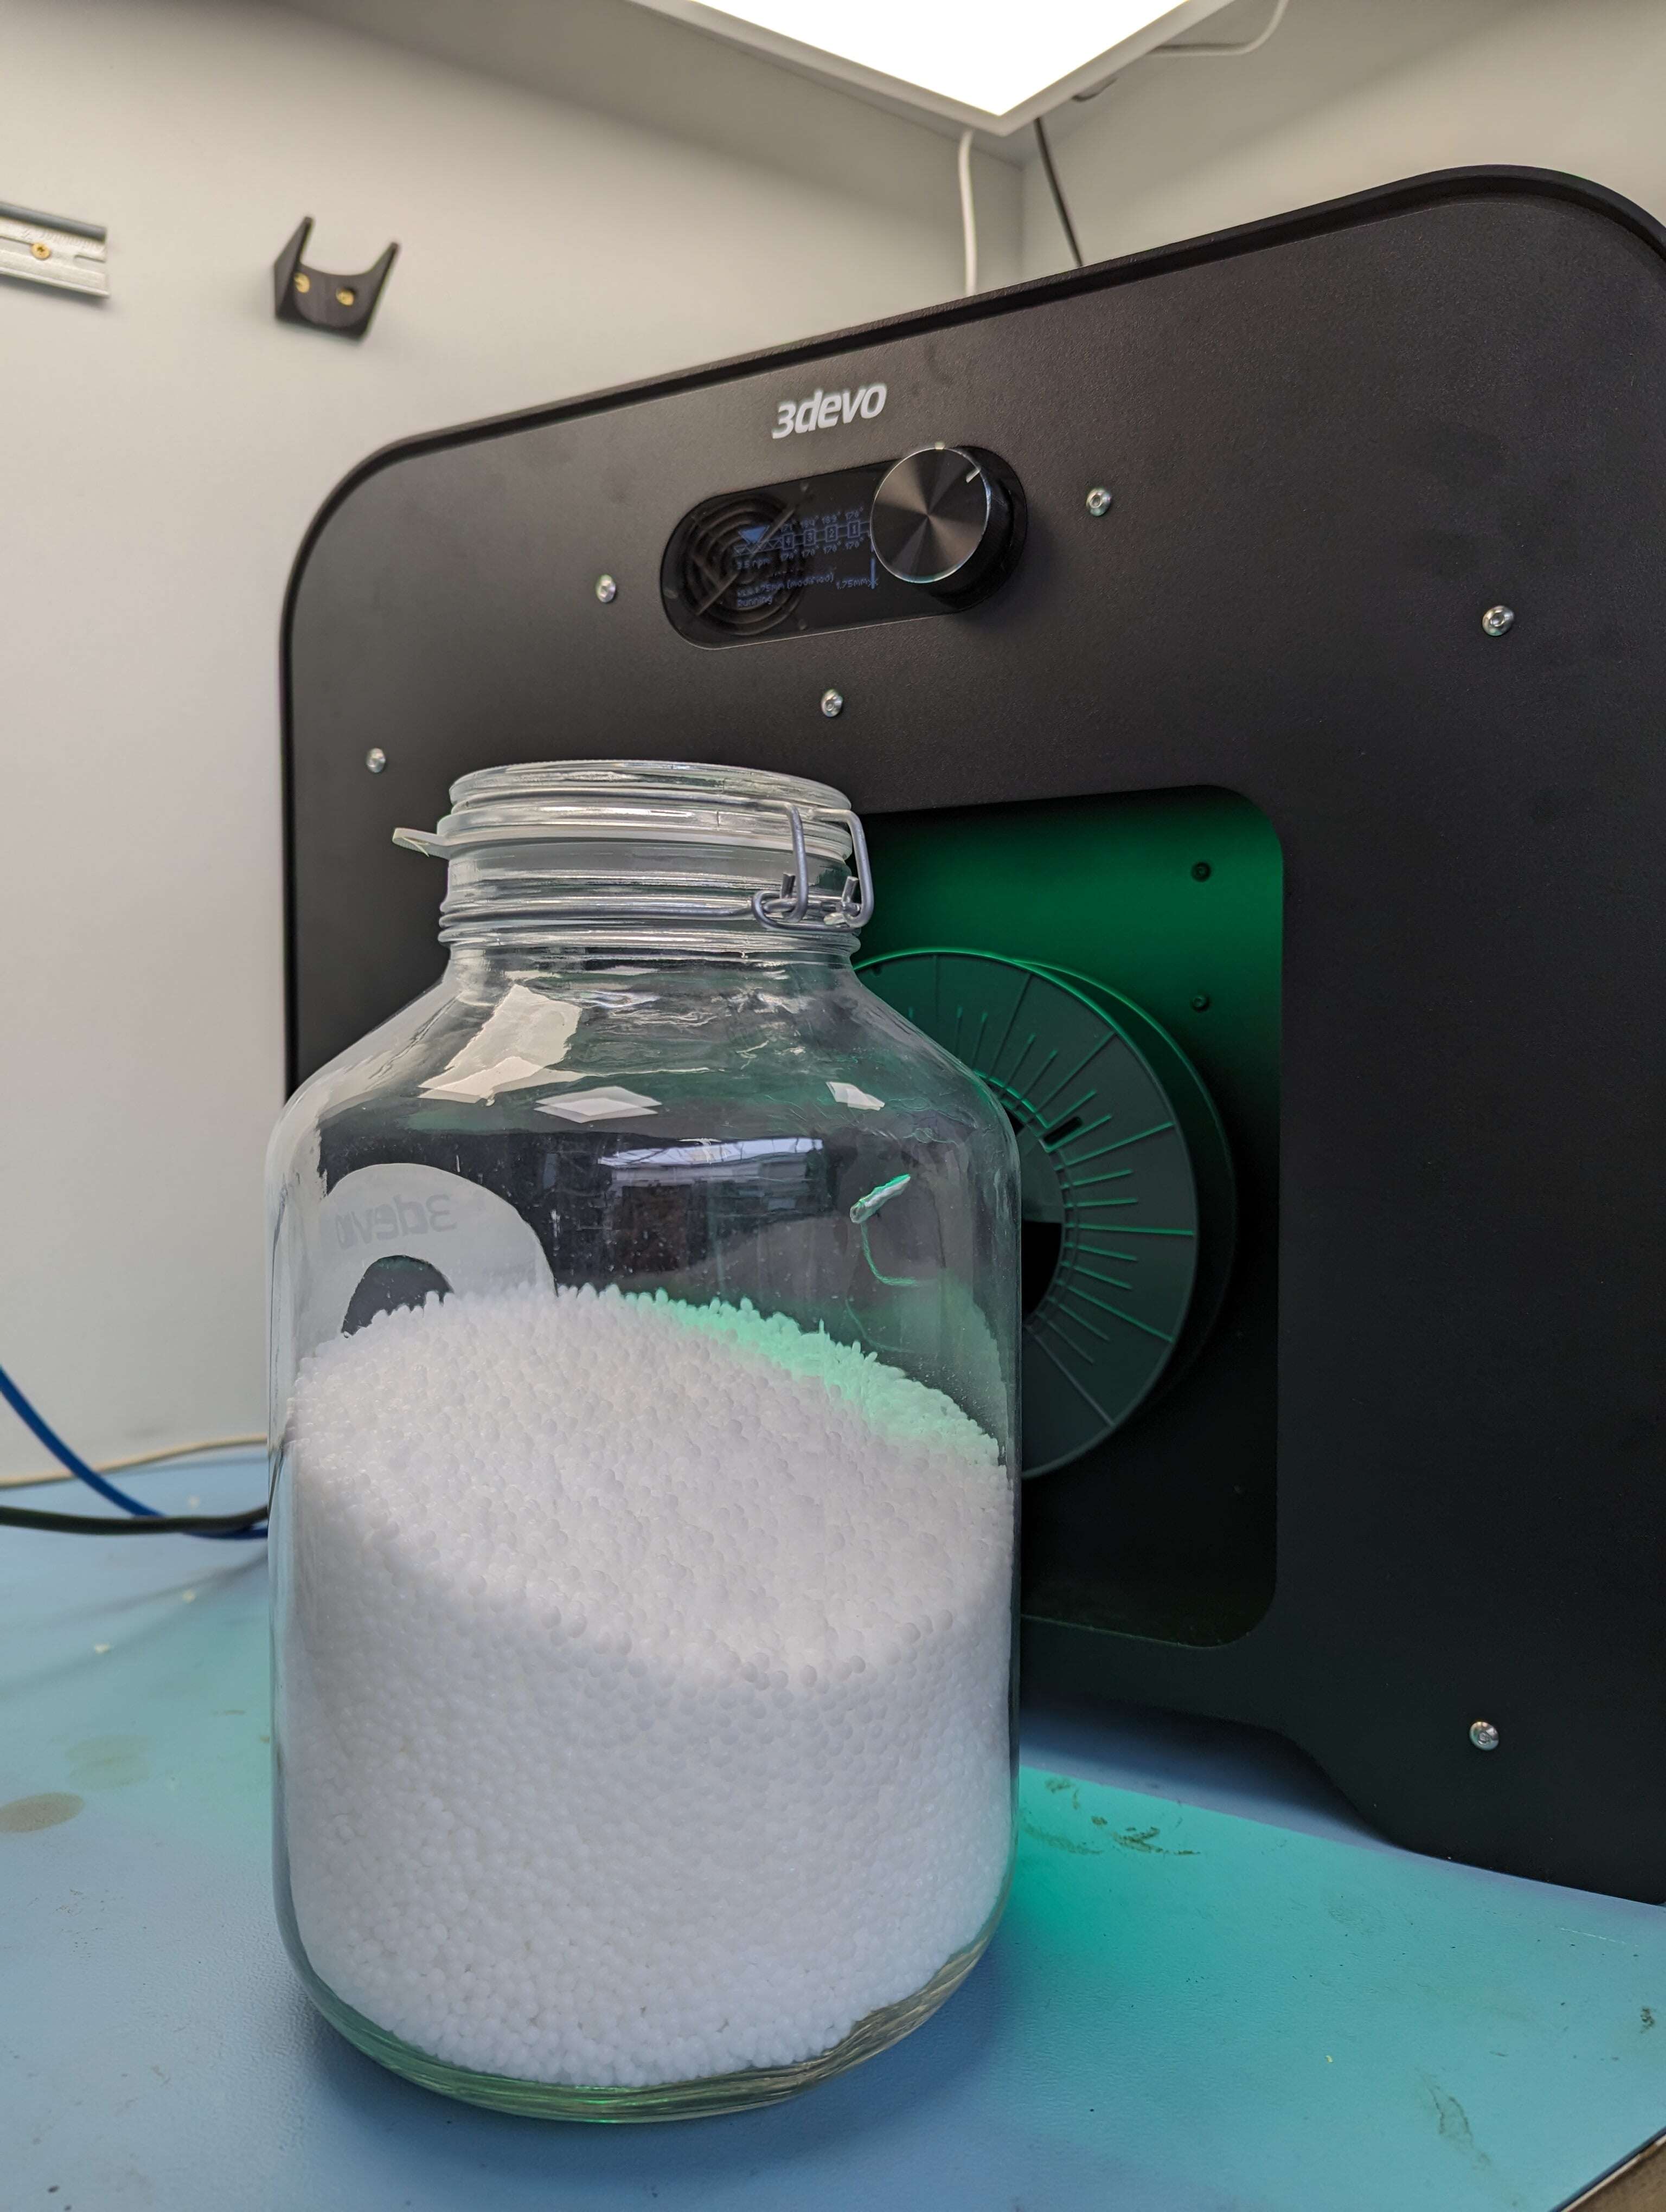
Experiment Setup and Materials
Material Selection: Polycaprolactone (PCL)
For this experiment, we selected Polycaprolactone (PCL) to specifically test the low-temperature extrusion capabilities of our filament makers. PCL is a biodegradable polyester with a low melting point of approximately 60 °C, depending on the type. Its biodegradability and low processing temperature make it a popular choice in various applications, including biomedical uses such as medical implants and scaffolds, promoting repair and bone regeneration.
Our first step was to conduct a material test on the PCL we obtained. A Melt Flow Index (MFI) test will give detailed insight to the conditions and specifications of any given polymer. At 3devo, we have the equipment to conduct MFI tests in our own facility.
The MFI report for our PCL presented a promising result of 2.66 (using 2.16 kg at a temperature of 80 °C). The MFI value is a critical parameter in our comparative analysis, as it indicates the material’s viscosity and flow characteristics. A higher MFI value, such as the one observed in our test, suggests a lower viscosity. This lower viscosity is advantageous during the material transition stage, particularly when extruding PCL after PLA. The ability of PCL to push out the PLA efficiently is vital to prevent blockages and ensure a smooth transition.
To accurately assess the PCL’s performance, we tested its MFI at a higher temperature of 170 °C. This approach provided a realistic impression of its ability to move through the extruder, especially when transitioning from PLA. It’s important to note that not all PCL types exhibit the same viscosity at different temperatures. For instance, while PCL may have suitable viscosity at 80 °C, it can become too liquid at 170 °C, affecting its capability to push out the remaining PLA. This variability underscores the importance of selecting the right type of PCL for specific extrusion processes.
By choosing PCL for this experiment, we aimed to challenge the Filament Maker ONE and Filament Maker TWO under controlled conditions. This setup not only allowed us to evaluate their performance with a low-temperature material (notoriously complex to process), but also provided insights into their efficiency and reliability during material transitions. Through the following analysis, we intend to highlight the strengths and potential areas for improvement in both machines, ultimately guiding users in making informed decisions about their filament extrusion needs.
Machine Preparation
Preparing both the Filament Maker ONE (FM1) and Filament Maker TWO (FM2) for this experiment was essential to ensure optimal performance with Polycaprolactone (PCL). As always, the first step involved purging the machines with standard DevoClean Midtemp pellets at specific reduced temperatures to eliminate any residual material from previous extrusions. This purging process is critical to maintaining the purity of the new filament and avoiding contamination.
After this initial purge, an additional step is necessary for the transition to a much lower temperature material, such as PCL. Following the recommendation of our Materials Specialists, we therefore processed PLA as a transition material.
For the PLA process, the temperatures for each heater were set to the predetermined PLA preset temperatures of FM1 as follows:
Heater 4: 170 °C
Heater 3: 185 °C
Heater 2: 190 °C
Heater 1: 170 °C
As the PLA began to be successfully extruded, the temperature was reduced to 170 °C across all heaters to prepare for the introduction of PCL.
An important aspect of this preparation phase was the cooling performance of the machines. The FM1 took 14 minutes to reach the target temperature of 170 °C. While this time frame is manageable, the FM2, equipped with an advanced cooling system, achieved the same temperature in just 9 minutes. This quicker cooling time is particularly beneficial for materials like PCL, where precise and rapid temperature adjustments are crucial to prevent premature melting and blockages.
Transition Phase
The transition from PLA to PCL is a critical phase that requires careful management to avoid material clogging and ensure a smooth changeover. During this phase, Janus set the screw’s RPM on both machines to the maximum level of 15. This high RPM setting is essential to swiftly move the material through the extruder, minimizing the time the PCL spends in high-temperature environments, which could otherwise cause it to melt prematurely and create blockages.
The low Melt Flow Index (MFI) value of the PCL played a significant role in this context. As mentioned, a lower MFI indicates higher viscosity, enabling the PCL to effectively push out any remaining PLA residues. However, the transition time can vary depending on the specific type of PCL used, as different formulations can exhibit varying viscosities and flow characteristics.
Extrusion Behavior
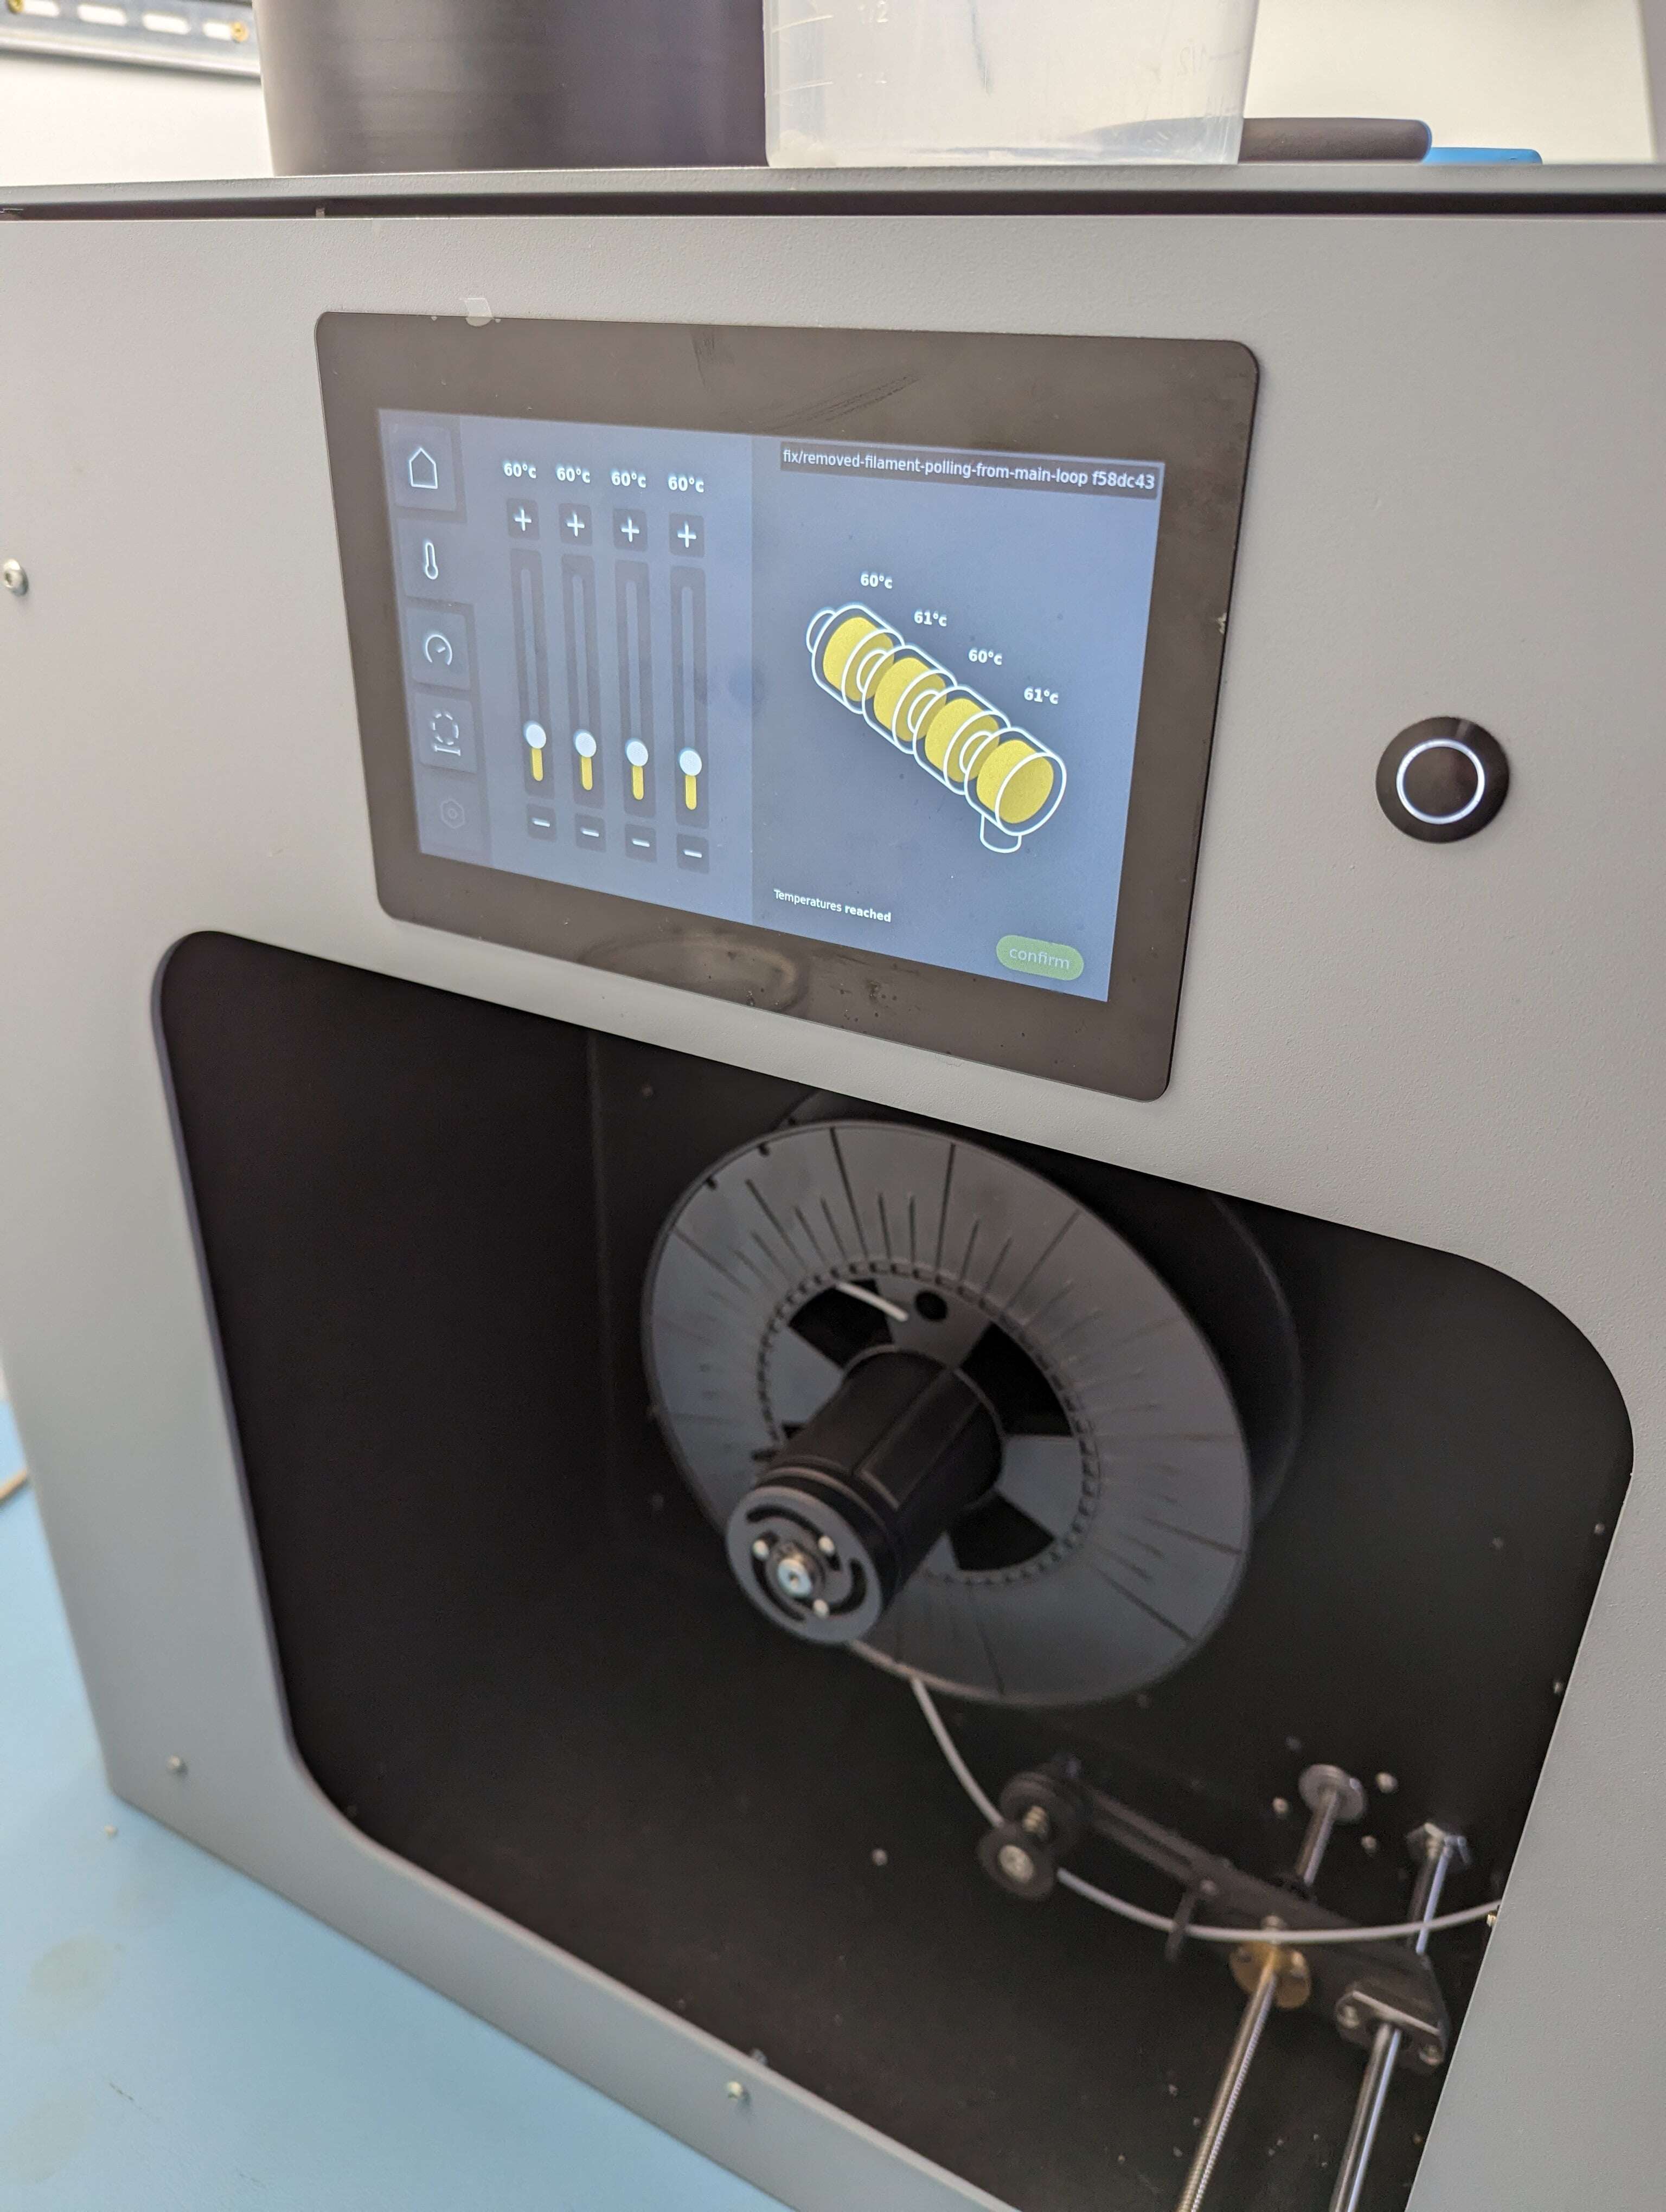
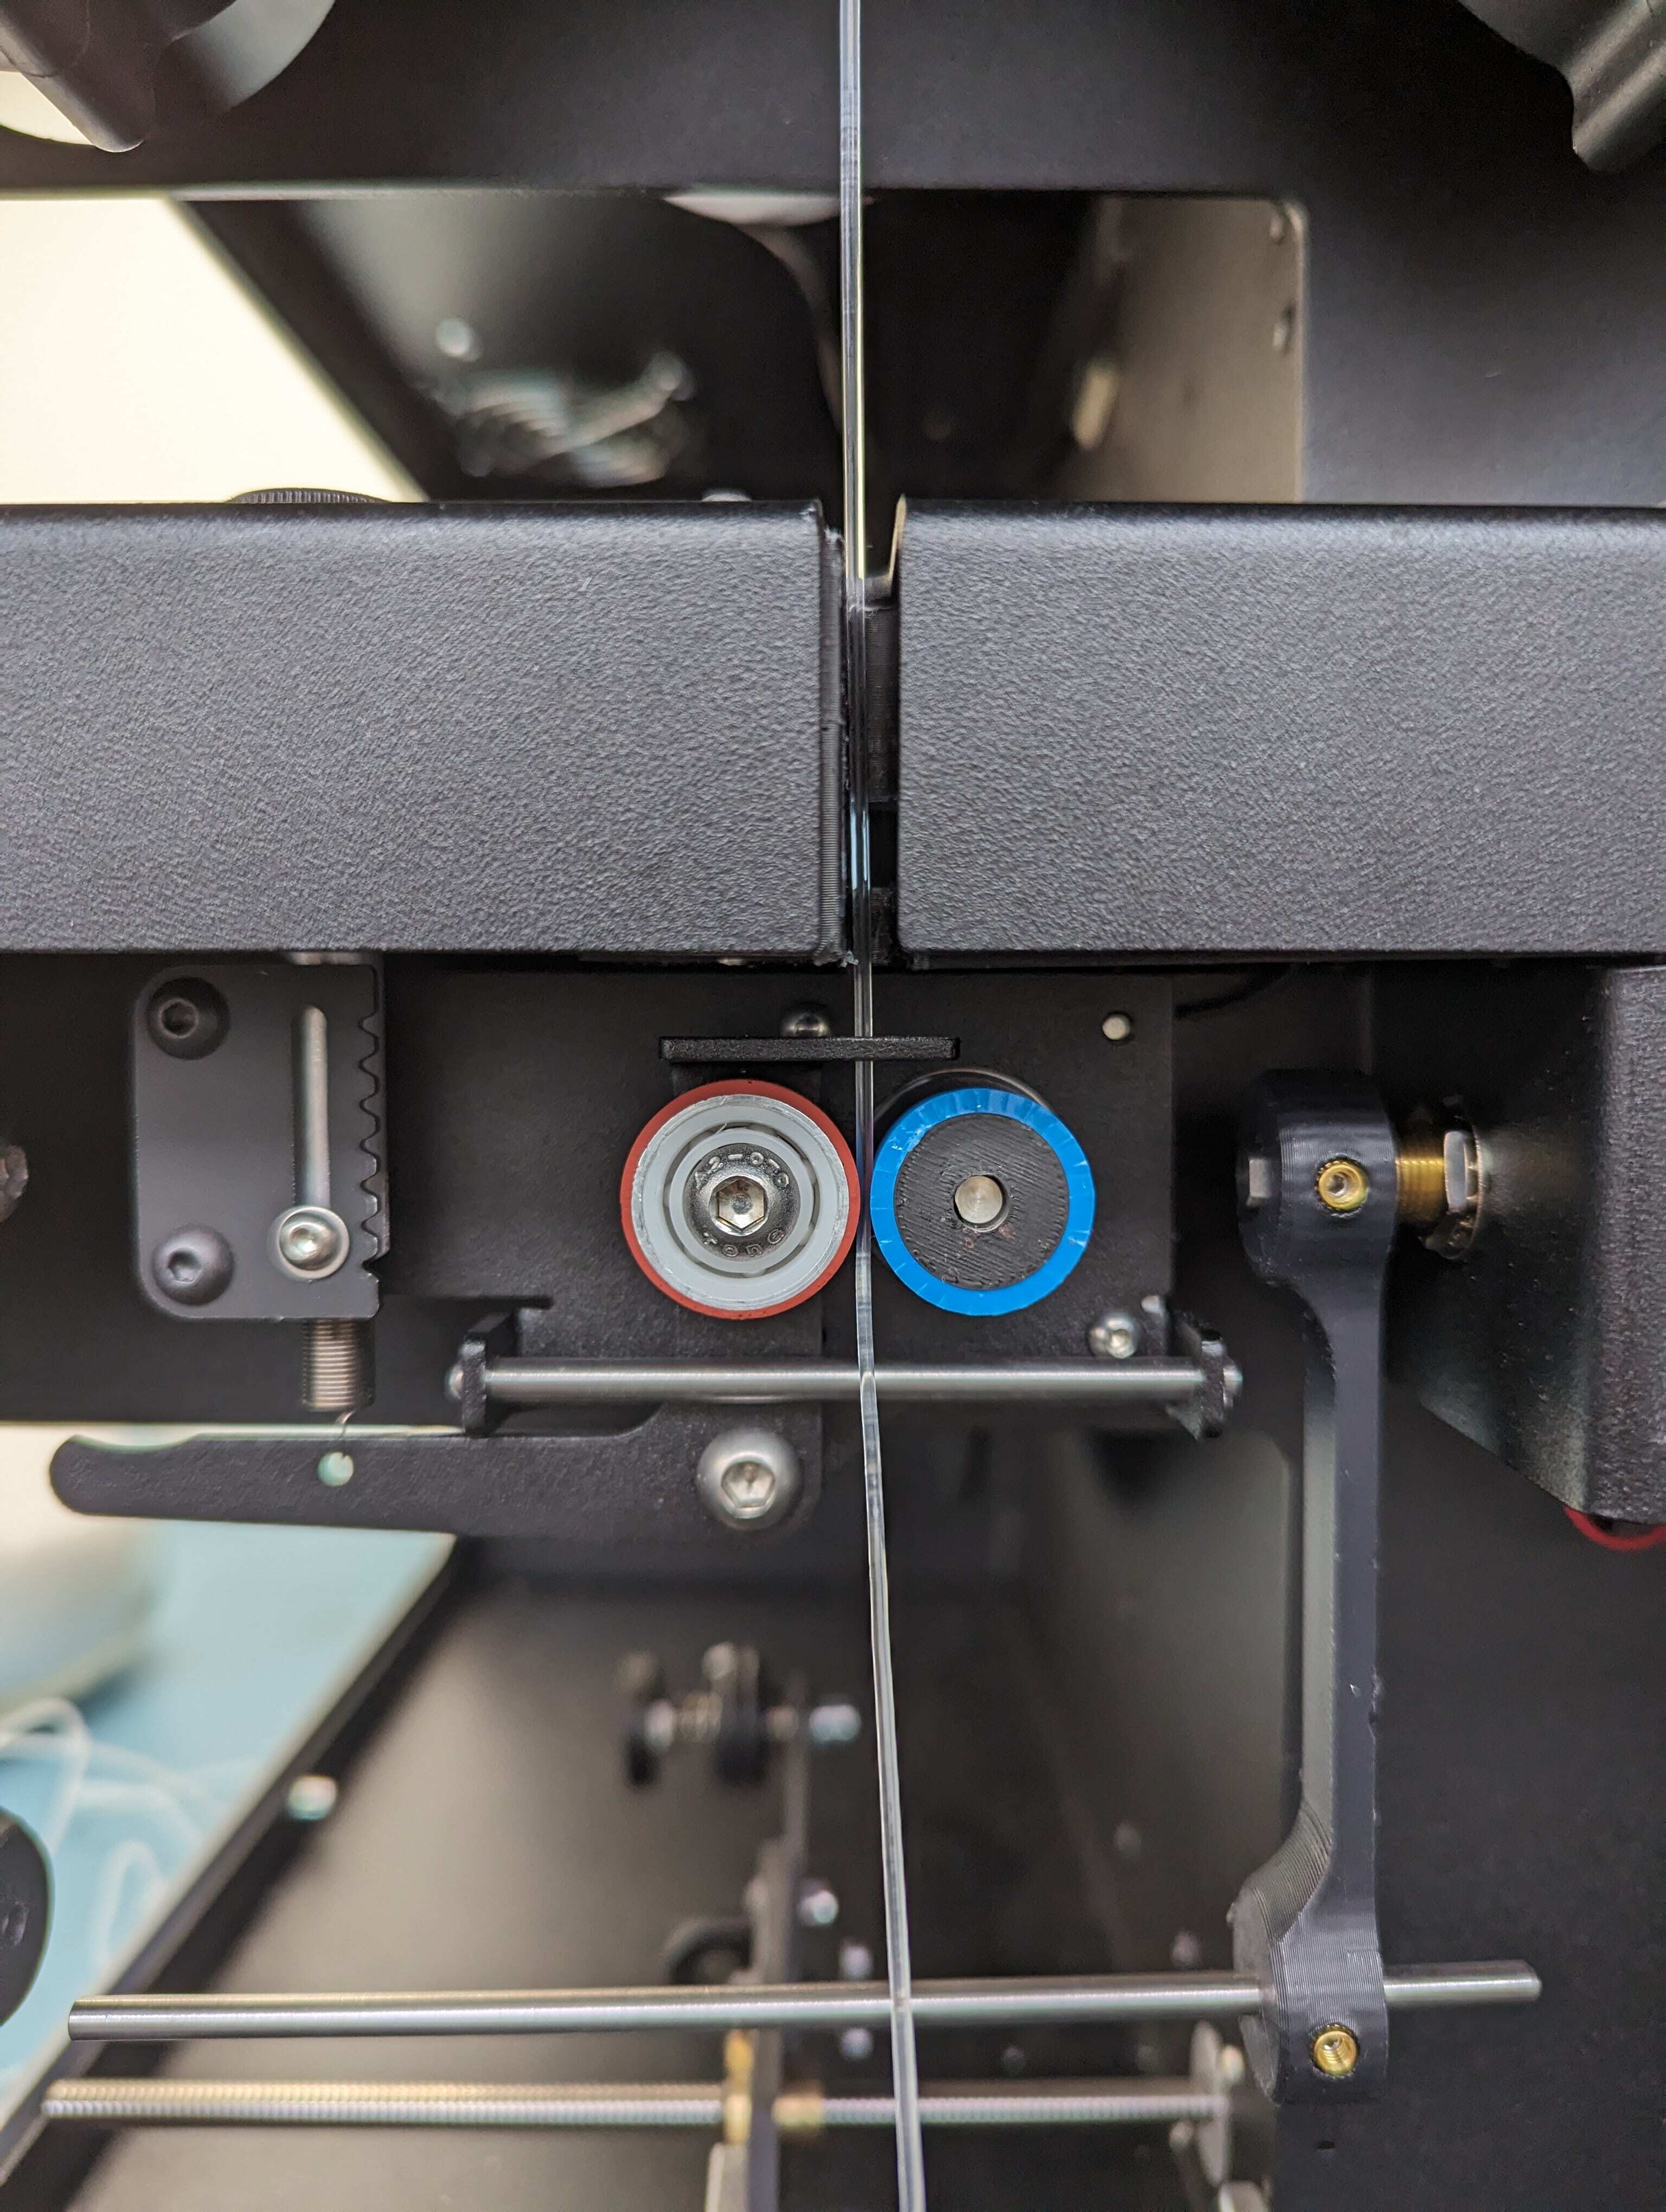
Once the heaters had stabilized at 170 °C, Janus weighed 135 grams of PCL pellets for each machine and fed them into the hoppers to start the extrusion process. The FM2 demonstrated its efficiency by successfully transitioning from PLA to PCL within 2 hours 45 minutes. This transition was visually evident as the filament consistency changed from the clear appearance of PLA to the, when cooled, white PCL.
Following the successful transition, the temperature of the heaters was further reduced to 60 °C, and the RPM was decreased to 5. These adjustments were crucial to ensure that the PCL did not melt excessively while in the hopper, which could lead to blockages. By lowering the temperature and RPM, a steady flow of material through the extruder was maintained, ensuring consistent filament quality.
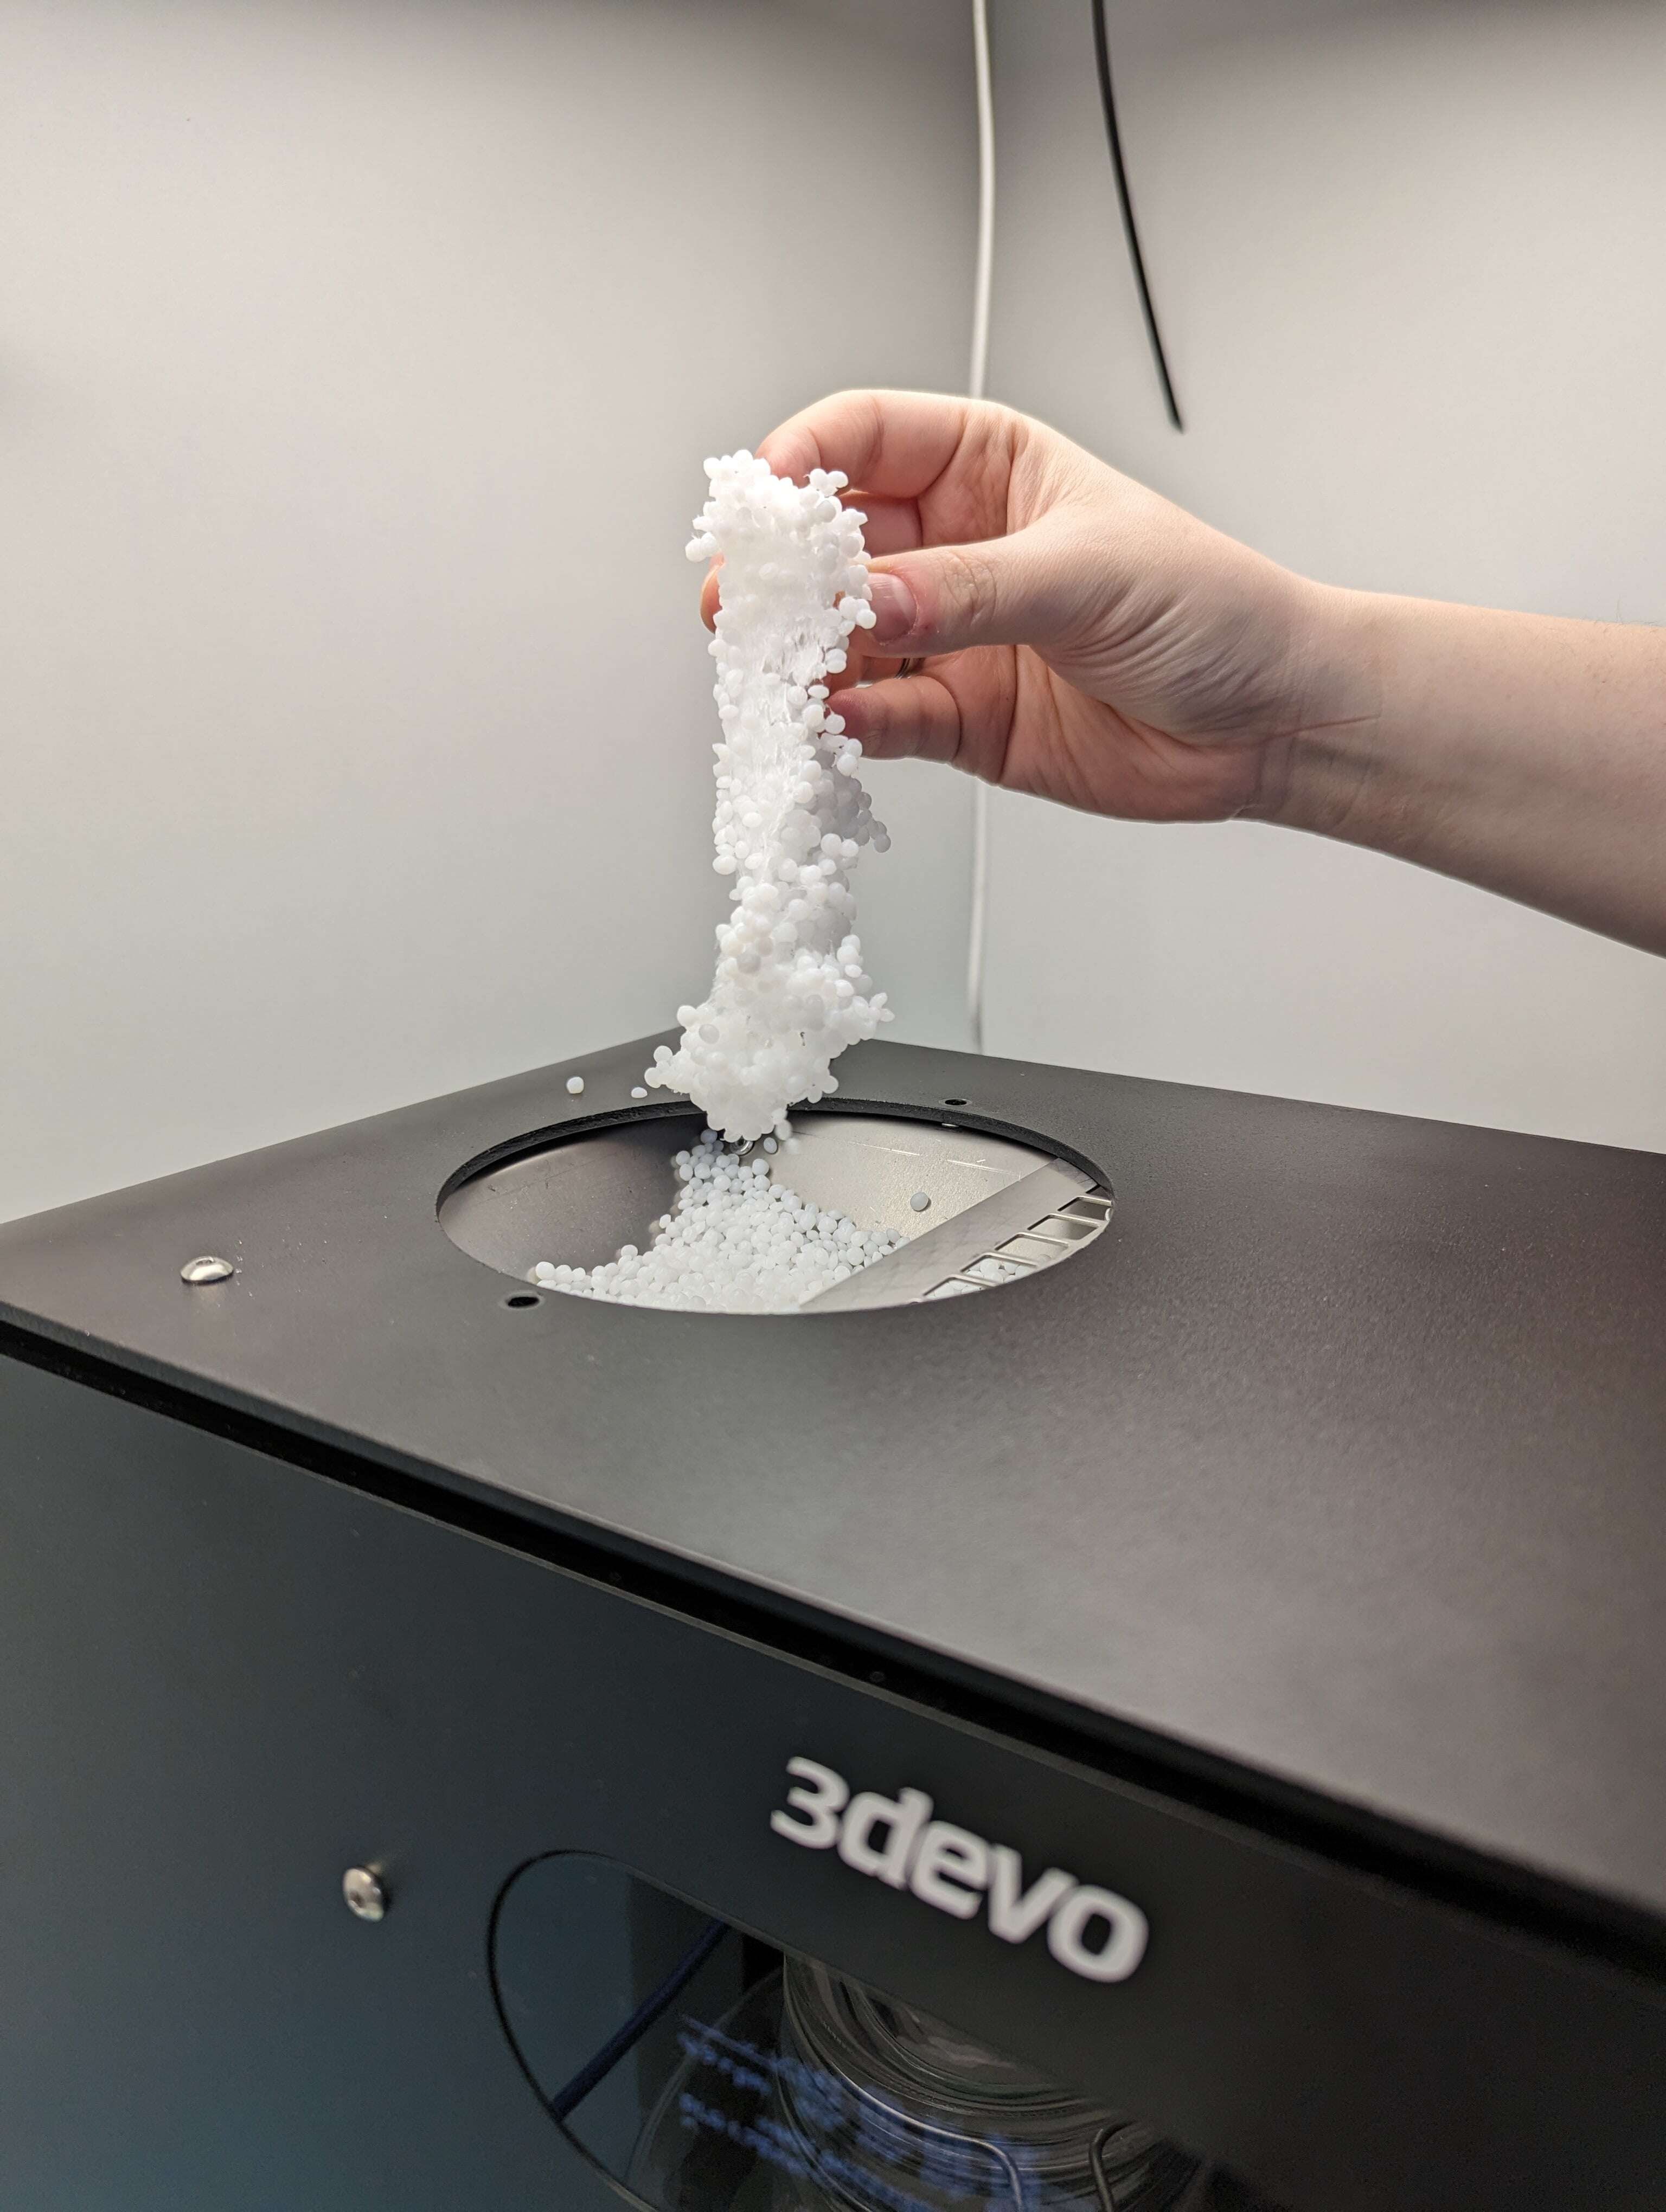
The FM1, while reliable, encountered some challenges during this process. PCL pellets began to melt prematurely in the hopper, causing blockages as pictured below.
This issue can be attributed to several factors:
- Temperature Consistency: The FM1's cooling capabilities consists of a system fan, which is not as advanced as the FM2's dedicated hopper cooling system, which means it took longer to bring the temperature down uniformly. This delay allowed the PCL pellets in the hopper to begin melting before the overall system reached the stable, lower temperature required for proper extrusion.
- Hopper Design: The FM1's hopper does not provide as effective insulation or cooling, leading to higher localized temperatures within the hopper. As PCL is highly sensitive to temperature, any residual heat can cause it to soften and melt prematurely.
- Material Handling: During the high RPM transition phase, any fluctuation in the cooling efficiency or temperature control can lead to inconsistencies in material flow. If the PCL starts to melt unevenly, it can create blockages that hinder the smooth transition from PLA to PCL.
In particular, this issue highlighted the advantage of the FM2’s advanced hopper cooling system, which maintained a consistent temperature, preventing early melting and ensuring a smoother extrusion process.
Comparative Analysis
Temperature Control and Cooling Efficiency
The temperature control and cooling efficiency of the two filament makers were primary focal points in our comparative test. The Filament Maker ONE (FM1) demonstrated reliable temperature control, but its cooling efficiency presented some challenges. It took 14 minutes to reduce the temperature from 190 °C to the target 170 °C and over 3.5 hours to reach the optimized PCL extrusion temperature of 60 °C. This slower cooling process can be problematic when working with low-temperature materials like PCL, where precise and rapid temperature adjustments are crucial to avoid premature melting and subsequent blockages.
In contrast, the Filament Maker TWO (FM2) showcased significant improvements in both temperature control and cooling efficiency. The FM2 reached the target temperature of 170 °C in just nine minutes, thanks to its advanced cooling system. Moreover, it took significantly less time than the FM1 to reduce to the optimized PCL extrusion temperature of 60 °C - 2 hours 45 minutes to transition from PLA temperature settings to the PCL spooling. This faster cooling time is essential for processing materials like PCL, ensuring they are handled at the optimal temperature without unnecessary delays. The enhanced cooling system in the FM2 not only improves the efficiency of the extrusion process but also contributes to better material handling and consistency, crucial for high-quality filament production.
Extrusion Quality and Consistency
Extrusion quality and consistency are critical for producing high-quality filaments suitable for 3D printing. The FM1 encountered several challenges in this area. During the transition from PLA to PCL, the FM1 experienced blockages due to premature melting of PCL pellets in the hopper. Had we been able to successfully extrude enough material to begin spooling, it is most likely that the filament would have had varying diameters and potential imperfections due to these blockages causing a restriction in flow. This can then negatively impact the quality of 3D printed objects, as variability in filament diameter and the presence of imperfections can lead to issues such as poor layer adhesion and surface defects in printed parts.
By comparison, the FM2 excelled in extrusion quality and consistency. Its advanced hopper cooling system prevented the PCL pellets from melting prematurely, allowing for a smooth transition from PLA to PCL. This led to the production of filament with a uniform diameter and consistent quality. The smoother extrusion process of the FM2 reduces the risk of blockages and ensures a more reliable filament, which is crucial for achieving high-quality 3D prints. Consistent filament diameter and quality directly translate to better print reliability and aesthetics, making the FM2 a preferable choice for precision applications.
Ease of Transition
The ease of transitioning between different materials is another critical factor in evaluating filament makers. The FM1 required careful monitoring and manual adjustments during the transition from PLA to PCL. Although PCL can be successfully extruded from the FM1, the necessary manual intervention not only increases the likelihood of errors and blockages but also leads to potential downtime, making the process less efficient. The need for constant supervision and adjustment can be a drawback, particularly in environments where time and efficiency are paramount.
In comparison, the Filament Maker TWO provided a more streamlined and automated transition process. The improved design of the FM2 facilitated a quicker and smoother transition between materials, reducing the need for manual adjustments. This automation enhances the overall efficiency of the extrusion process, allowing users to switch materials with minimal hassle and downtime. The FM2's ability to handle material transitions smoothly is a significant advantage for users looking to maximize productivity and minimize interruptions. The automated transition process not only saves time but also reduces the potential for user error, making it a more user-friendly option for both novice and experienced operators.
By focusing on these key aspects—temperature control and cooling efficiency, extrusion quality and consistency, and ease of transition—we hope to have provided a thorough understanding of the performance differences between the FM1 and FM2. These insights are intended to help users make informed decisions based on their specific needs and the materials they work with.
Technical Data Summary
|
Metric |
Filament Maker ONE |
Filament Maker TWO |
|
Cooling Time (to 170 °C) |
14 minutes |
9 minutes |
|
Cooling Time (to 60 °C) |
3.5 hours |
2 hours 45 mins (but this can be halved by removing and cleaning the screw) |
|
Transition Time (PLA to PCL) |
20+ minutes (with blockages) |
10 minutes (smooth) |
|
Filament Diameter Consistency |
Moderate to high variations |
High consistency |
|
Ease of Use |
Manual adjustments needed |
Automated, user-friendly |
Expert Recommendations from Our Materials Specialists
For users aiming to achieve optimal results with PCL extrusion, our Materials Specialists have outlined several key recommendations based on our comparative analysis and practical insights. These recommendations are designed to help you maximize the efficiency and performance of your Filament Maker, whether you're using the FM1 or considering an upgrade to the FM2.
Melt Flow Index (MFI) Testing
One of the most crucial steps in preparing PCL for extrusion is conducting a Melt Flow Index (MFI) test. It is recommended to run MFI tests at both 80 °C and 170 °C. This dual-temperature testing is vital for verifying that your PCL has the appropriate consistency at both the extrusion temperature and the transition temperature.
At 80 °C: Testing at this temperature ensures that the PCL maintains the correct flow characteristics during the actual extrusion process. A suitable MFI value at this temperature indicates that the PCL will extrude smoothly and consistently. A correct value is typically around 5g/10min, using a testing weight of 2.16kg
At 170 °C: Testing at this higher temperature helps determine whether the PCL can effectively push out any remaining PLA during the transition phase. If the PCL is not viscous enough at 170 °C (typically above 25-30g/min), it will lack the necessary force to clear the PLA from the system, leading to blockages in the hopper. Ensuring the right consistency at this temperature is essential for a seamless material transition.
Starve Feeding
Another recommended practice for optimizing the extrusion process is starve feeding, which involves feeding the material into the hopper spoon by spoon, rather than filling the hopper all at once and letting it run.
Prevents Jams: This method reduces the likelihood of blockages and jams by ensuring that the material is fed into the extruder at a controlled rate.
Prevents Early Melting Issues: Starve feeding also helps avoid early melting of the material in the hopper, ensuring that the PCL is processed correctly within the extruder. This controlled feeding method helps maintain the integrity of the material and promotes a smoother extrusion process.
Accessibility and Maintenance
One significant advantage of the Filament Maker TWO is its enhanced design, particularly the accessibility of the screw. Unlike the FM1, the FM2 allows users to easily remove and clean the screw, which can be a game-changer in managing material transitions.
- Removing and Cleaning the Screw: Before starting the extrusion of PCL, users can remove the screw to clean out any residual PLA. This step can be particularly advantageous in preventing blockages. By thoroughly cleaning the screw, users can ensure that the PCL extrusion starts with a clean slate, free from PLA contaminants.
- Speeding Up the Transition Phase: After cleaning the screw, users can return it to the machine and set the temperatures to 60 °C, ready to extrude PCL. This process significantly speeds up the cool-down and transition phase. Instead of the extended two-hour cooling period observed with the FM1, the FM2 can reduce this time to approximately 50 minutes. This efficiency gain is due to both the advanced cooling system of the FM2 and the proactive maintenance enabled by the accessible screw design.
For a clear and helpful demonstration on FM2 screw removal, check out the short video below. This quick guide is useful for both new and experienced users looking to maintain their equipment and streamline their extrusion processes.
By following the above recommendations, users can enhance the performance of their filament makers when processing low temperature materials, ensure smooth material transitions, and produce high-quality filaments consistently. Whether you're using the Filament Maker ONE or the Filament Maker TWO, these practical tips and insights from our Materials Specialists will help you optimize your 3D printing workflow and achieve the best possible results.
Conclusion
By comparing these two filament makers, we hope to have provided a comprehensive understanding of their capabilities and performance, helping users make informed decisions based on their specific needs and the materials they work with.
Despite these differences, it is important to note that the FM1 still performed effectively within its design parameters. The FM1 remains a robust and reliable machine, especially for users working with less temperature-sensitive materials. However, for those frequently processing low-temperature or sensitive materials, the FM2's enhanced features offer clear advantages in terms of efficiency and ease of use.
The Filament Maker TWO presents some advancements over the Filament Maker ONE, particularly in handling low-temperature materials like PCL. Its enhanced cooling system, faster transition times, and improved ease of use make it the preferred choice for professionals and enthusiasts looking for efficiency and precision in filament extrusion.
For those considering an upgrade or looking to enhance their 3D printing setup, the FM2 offers substantial benefits that can streamline the extrusion process and improve overall filament quality.
Share this
- March 2025 (1)
- January 2025 (1)
- December 2024 (2)
- November 2024 (3)
- October 2024 (4)
- September 2024 (2)
- August 2024 (3)
- July 2024 (6)
- June 2024 (3)
- May 2024 (2)
- April 2024 (1)
- March 2024 (1)
- January 2024 (1)
- November 2023 (2)
- October 2023 (5)
- September 2023 (2)
- August 2023 (1)
- July 2023 (1)
- May 2023 (1)
- December 2022 (3)
- August 2022 (1)
- June 2022 (1)
- May 2022 (2)
- April 2022 (2)
- March 2022 (7)
- February 2022 (2)
- January 2022 (3)
- December 2021 (3)
- November 2021 (3)
- October 2021 (2)
- September 2021 (3)
- August 2021 (3)
- July 2021 (2)
- June 2021 (1)
- March 2021 (1)
- October 2020 (1)
- June 2020 (1)
- May 2020 (1)
- April 2020 (4)
- November 2019 (1)
- July 2019 (2)
- June 2019 (1)
- May 2019 (1)
- March 2019 (1)
- November 2018 (1)
- September 2018 (1)
- January 2018 (1)
- October 2017 (1)
- September 2017 (1)
- July 2017 (1)
- June 2017 (1)
- May 2017 (1)
- January 2017 (1)
- December 2016 (3)
- November 2016 (2)
- October 2016 (1)
- May 2016 (2)
- August 2015 (2)
- July 2015 (1)