Share this
by 3devo on Oct 27, 2021 9:45:00 AM
Keeping your filament dry is an important step in the 3D printing process. While it is common to store filament in a dry environment, moisture buildup can occur due to the properties of the filament being used.
Most plastics used for 3D printing filament are hygroscopic – meaning that the material absorbs moisture, even from the surrounding air. Keeping filaments dry isn’t difficult, as you can store them in Ziploc bags with added dehydrating agents like silica gel or vacuum seal them.
However, don’t worry if you find yourself with filament that has been exposed to moisture. It is still possible to dry them out before using them! Also, keep in mind that some ways to dry filament can be done in the comfort of your own home without any expensive equipment. Before we get into how you can dry filament, let us recap on why moisture is harmful to plastic and 3D printing.
The Importance of Keeping Filament Dry
Poorly stored filament, humidity, or simple accidents can cause water or other liquids to form on your filament. The wet filament can produce defective prints, so it is advised to keep it dry at all times.
It can be difficult to tell if your filament is wet simply by looking at it. However, you will be able to tell once you start printing with it.

Wet filament will produce a popping/cracking sound when extruding, almost like the sound of making popcorn. Oozing can also be observed if the extruder motor has stopped but the material is still coming from the hot end.
The main reason for this is that water expands in volume when heated from liquid to steam, so when microscopic water molecules in the filament boil away during 3D printing, they expand and leave pockmarks behind.
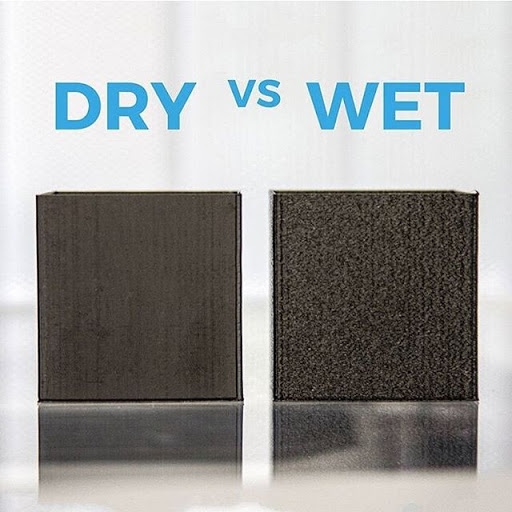
As this can result in gaps when the filament is melted, there isn’t a consistent flow of material – leaving you with a defected 3D print. Below are some other side effects you can expect from filament with too much moisture.
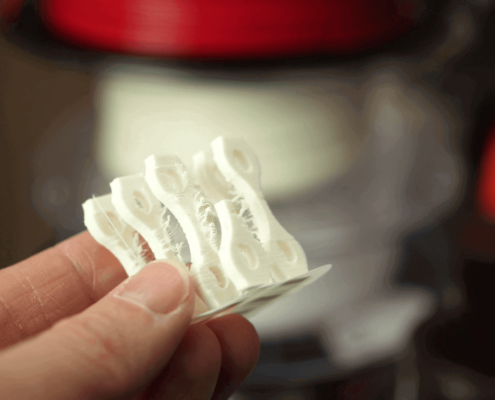
Results of Wet Filament in 3D Printing
- Low quality and/or weak prints
- Under-extrusion
- Stringing
- Bubbles
- Oozing
By drying your filament, you can restore its integrity – as long as the drying is done carefully, and below the material’s melting point. Also note that using a drying temperature that is too high can cause the material to crystallize and become glassy when it cools again; making it less pliant when fed into 3D printers. Paying attention to the drying temperature is critical.
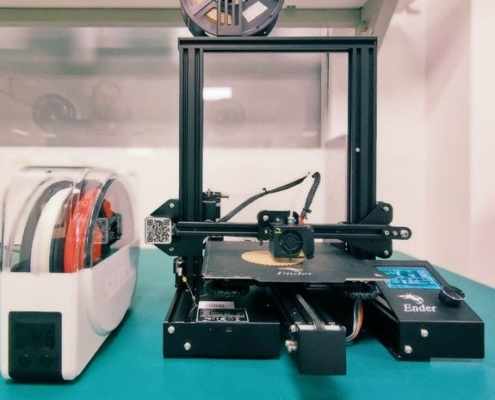
While there are commercially available filament dryers, the good news is that you can use appliances you might have around your home!
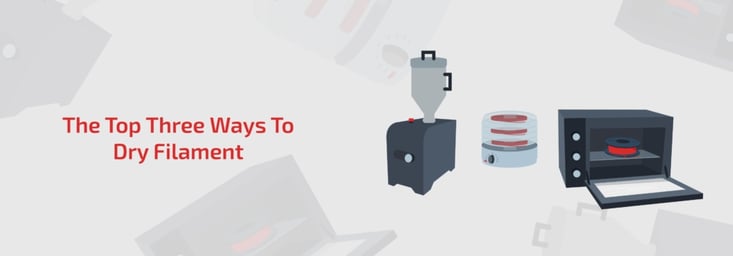
Let’s go through the 3 different ways you can dry filament and what issues you may come across, so you can avoid defects like string, rough surfaces and less cohesion when 3D printing.
Best Ways to Dry Filament
Dedicated Filament Dryer
Having a dryer made for filaments removes the guesswork and lets you focus on 3D printing. Filament dryers typically have a spooling cylinder recessed within an enclosed chamber. Temperature-control hot air gets pumped into the chamber to remove moisture which passes through a release vent. The spool can rotate for even heating to prevent filament warping.
An additional bonus of a filament dryer is that once your filament is dried, you can use the chamber as storage to keep the plastic dryer.
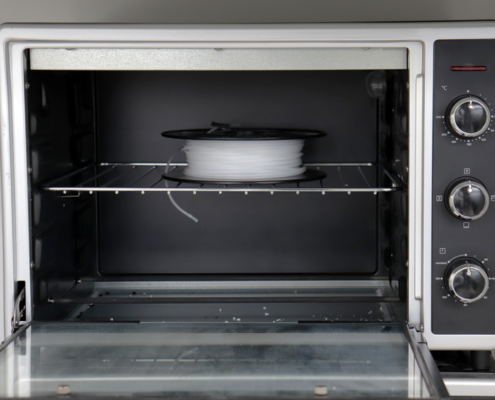
Cooking Oven
The most used household appliance that can double as a filament dryer is your conventional oven! Like when baking a cake, the oven needs to be preheated so that the entire interior is at the right temperature before you place your filament for drying. The temperature shoot that ovens use to get up to temperature can result in softened filament rather than slow drying.
Therefore, we suggest using a glass thermometer so you can be sure of the exact temperature of your oven, and easily maintain it, rather than relying on your oven’s thermostat.
| Material | Temperature | Time in Oven |
| PC | 80°C-90°C | 7-10 hours |
| ASA | 80°C-85°C | 4-6 hours |
| Nylon | 75°C-90°C | 4-6 hours |
| ABS | 65°C-75°C | 4-6 hours |
| PETG | 60°C-65°C | 4-6 hours |
| PLA | 40°C-50°C | 4-6 hours |
| TPU | 40°C-45°C | 4-5 hours |
While you may use an air fryer as a replacement for your oven, the more compact interior would place your spool of filament a lot closer to the heating element and could result in uneven drying, or some portions overheating. For that reason, it’s best to avoid using your air fryer for drying filament.
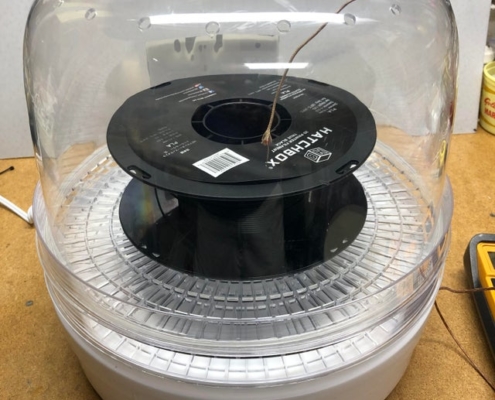
Food Dehydrator
Food dehydrators are designed to slowly remove excess moisture by providing low heat, allowing the food items placed in it to last longer. With the word “dehydrator” in it’s name, it does what it needs to, to remove any moisture from your filaments.
The great thing about using a dehydrator is that all you have to do is set the temperature and leave your spool inside to dry.
| Material | Temperature |
| PLA | 40°C-45°C |
| ABS | ~80°C (or highest available temperature) |
| Nylon | ~80°C (or highest available temperature) |
If you don’t already have one, these devices are relatively affordable and can easily be ordered online. Note that keeping track of the real inside temperature over a prolonged period can be tricky. Despite the thermostat settings provided, it can be a guessing game during the first few tries.
You can DIY this project and create your own filament dryer using a food dehydrator.
Safety Tips for Filament Drying
- Keep your devices clean or away from cooking – Since filaments emit harmful fumes when heated, it’s good practice after the drying process to thoroughly clean the household devices you used. Better yet, keep these devices separate from what you would use for your food. You don’t want to eat anything harmful next to your delicious meal!
- Use efficient Ventilation – with the harmful fumes can also come unpleasant smells. When drying your filament we advice you to do this in a well ventilated space, or under a fume hood. A fume hood is a ventilation device that limits exposure to toxic fumes or vapors.
- Use a heat-resistant spool – don’t forget about the filament spool! Make sure that the spool your filament is on can withstand the chosen drying temperature without warping or melting. A typical Polystyrene (PS) spool would start to melt around 80°C, a metal spool however, such as the ones available from Vision Miner, would remove any risk of warping or melting.
Filament Storage for Future 3D Prints
Now that you understand a bit more about the importance of keeping your filament dry as well as various ways of drying it, it is important to make sure it stays dry for future prints.
Pay close attention to each filament material’s drying temperatures – ensure that it stays below its glass transition temperature (Tg). Most technical datasheets of polymers will list this temperature; but if you don’t have this on hand, a quick search online will lead you to the Tg values of whichever plastic you’re working with.
Filament storage is also very important. You can do this by vacuum sealing your filament or simply packing it with silica gel.
Now that you know how you can save your filaments, 3D printing will be a cinch.